1915 25th February
Cape Helles Forts Reengaged
Carden resumes the naval assault and heavily engages the outer forts near Cape Helles.
First World War · Gallipoli · permanent subject timeline
The southern Gallipoli beachhead and repeated battles for Krithia. This page combines historical context with 30 matching records drawn directly from the World History Database Gallipoli archive.
Historical context
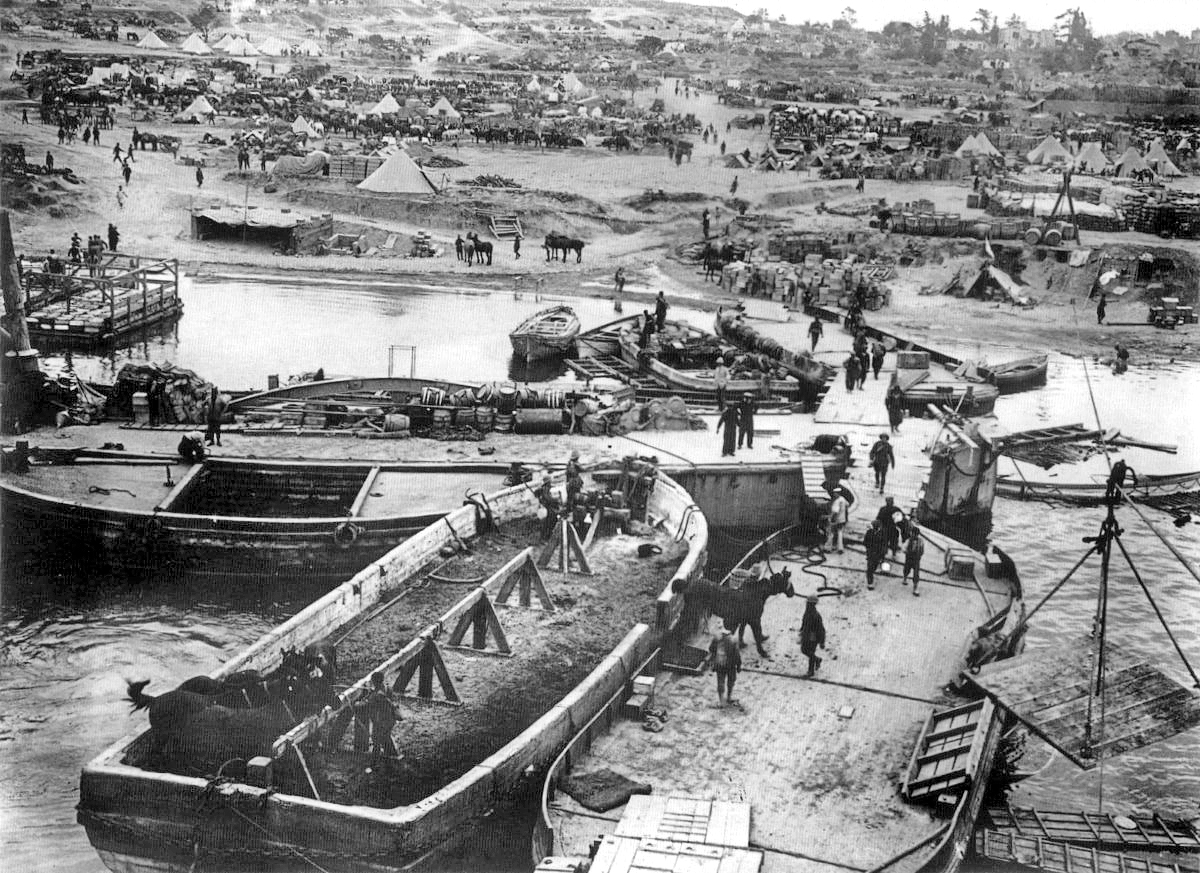
Cape Helles formed the main British and French lodgement at the southern end of the peninsula. Troops fought to expand the beachhead toward Krithia and Achi Baba while operating under difficult terrain and fire.
Helles remained a major Allied sector throughout the campaign and absorbed repeated offensives without achieving the strategic breakthrough required to dominate the peninsula.
World History Database records
The records below are selected from the 319-record Gallipoli archive and rendered as static HTML in chronological order.
Cape Helles Forts Reengaged
Carden resumes the naval assault and heavily engages the outer forts near Cape Helles.
Cape Helles Landings Launched
Hamilton launches the main British landings on five beaches around Cape Helles.
Third Corps Responds to Multiple Landings
Esat directs Ottoman reserves as Allied troops land at Helles and Anzac.
W Beach Assault Directed
Hunter-Weston's 29th Division lands at W Beach and fights to secure the Helles foothold.
X Beach Landing Secured
Hunter-Weston's troops secure X Beach and begin expanding the northern side of the Helles perimeter.
Helles Beachheads Joined
Hunter-Weston consolidates several Helles landing beaches into a continuous Allied foothold.
Kum Kale Force Withdrawn to Helles
D'Amade withdraws the French diversionary force from Kum Kale after completing its task.
Helles Advance Timetable Pressed
Hamilton urges the Helles force forward before Ottoman reinforcements can consolidate.
First Krithia Offensive Fails
Hamilton's first Helles offensive fails to break the Ottoman line despite heavy Allied casualties.
Cape Helles Defence Prepared
Halil Sami prepares the 9th Division to defend the southern peninsula and landing beaches.
Helles Five-Beach Assault Planned
Hunter-Weston prepares simultaneous landings at five beaches around Cape Helles.
Twenty-Sixth Regiment Covers Helles Beaches
Sefik deploys the 26th Regiment across key beaches and ridges around Cape Helles.
Anzac Reinforcements Sent to Helles
Hamilton transfers Australian and New Zealand infantry from ANZAC to reinforce a renewed attack at Helles.
New Zealand Brigade Ordered to Helles
Johnston's brigade is transferred from ANZAC to reinforce the Helles offensive.
Wellington Battalion Moves to Helles
Malone's Wellington Battalion moves south with the New Zealand Infantry Brigade for the renewed Krithia offensive.
Wellington Battalion Returns from Helles
Malone's battalion returns to ANZAC after suffering heavily during the fighting around Krithia.
French Command at Helles Assumed
Gouraud takes over the French Expeditionary Corps operating on the right of the Helles line.
French Helles Trenches Expanded
Gouraud strengthens French positions and artillery on the eastern side of the Helles front.
French Corps Attacks at Third Krithia
Gouraud directs French forces during the Third Battle of Krithia on the right of the Allied line.
Gully Ravine Offensive Launched
Hunter-Weston directs the Helles attack that gains ground along Gully Ravine but fails to break the front.
Gouraud Wounded at Gallipoli
Gouraud is seriously wounded by shellfire while inspecting French positions at Cape Helles.
Helles Reinforcement Requests Sent
Hamilton repeatedly requests additional divisions as the campaign becomes a prolonged struggle.
Suvla Outline Scheme Given to Stopford
Hamilton briefs Stopford on the proposed Suvla landing and the need to seize the Tekke Tepe and Kiretch Tepe high ground.
French Corps Command Assumed after Gouraud
Bailloud takes command of the French Expeditionary Corps after Gouraud is wounded.
Helles Position Inspected during Withdrawal Review
Kitchener inspects the remaining Allied positions while considering whether Cape Helles should also be abandoned.
Gallipoli Landing Plan Developed
Hamilton develops simultaneous landings at Cape Helles and north of Gaba Tepe with a French diversion at Kum Kale.
Helles Evacuation Prepared
Monro directs preparations to remove the remaining British and French forces from Cape Helles.
Final Helles Defensive Line Maintained
Hunter-Weston's forces maintain the Helles perimeter while men, guns and stores are progressively embarked.
Cape Helles Rear Guard Withdraws
Hunter-Weston's rear guards leave their positions as the final evacuation of Cape Helles begins.
Dardanelles Expedition Ends after Helles Withdrawal
Monro reports completion of the final Helles evacuation, ending the Allied Dardanelles expedition.
Editorial provenance
Compiled and edited by World History Database.
Historical context is editorial material; the chronology is generated from World History Database Gallipoli and Dardanelles records.
Last reviewed: September 2026.
Continue exploring