1942 6th October
Battle of Alamein, 2nd
Montgomery issues final plans for the Eighth Army's offensive before the Second Battle of El Alamein.
Second World War · permanent subject timeline
Montgomery's Eighth Army offensive against Axis forces in Egypt. This page combines historical context with 38 matching records drawn directly from the World History Database World War II battle archive.
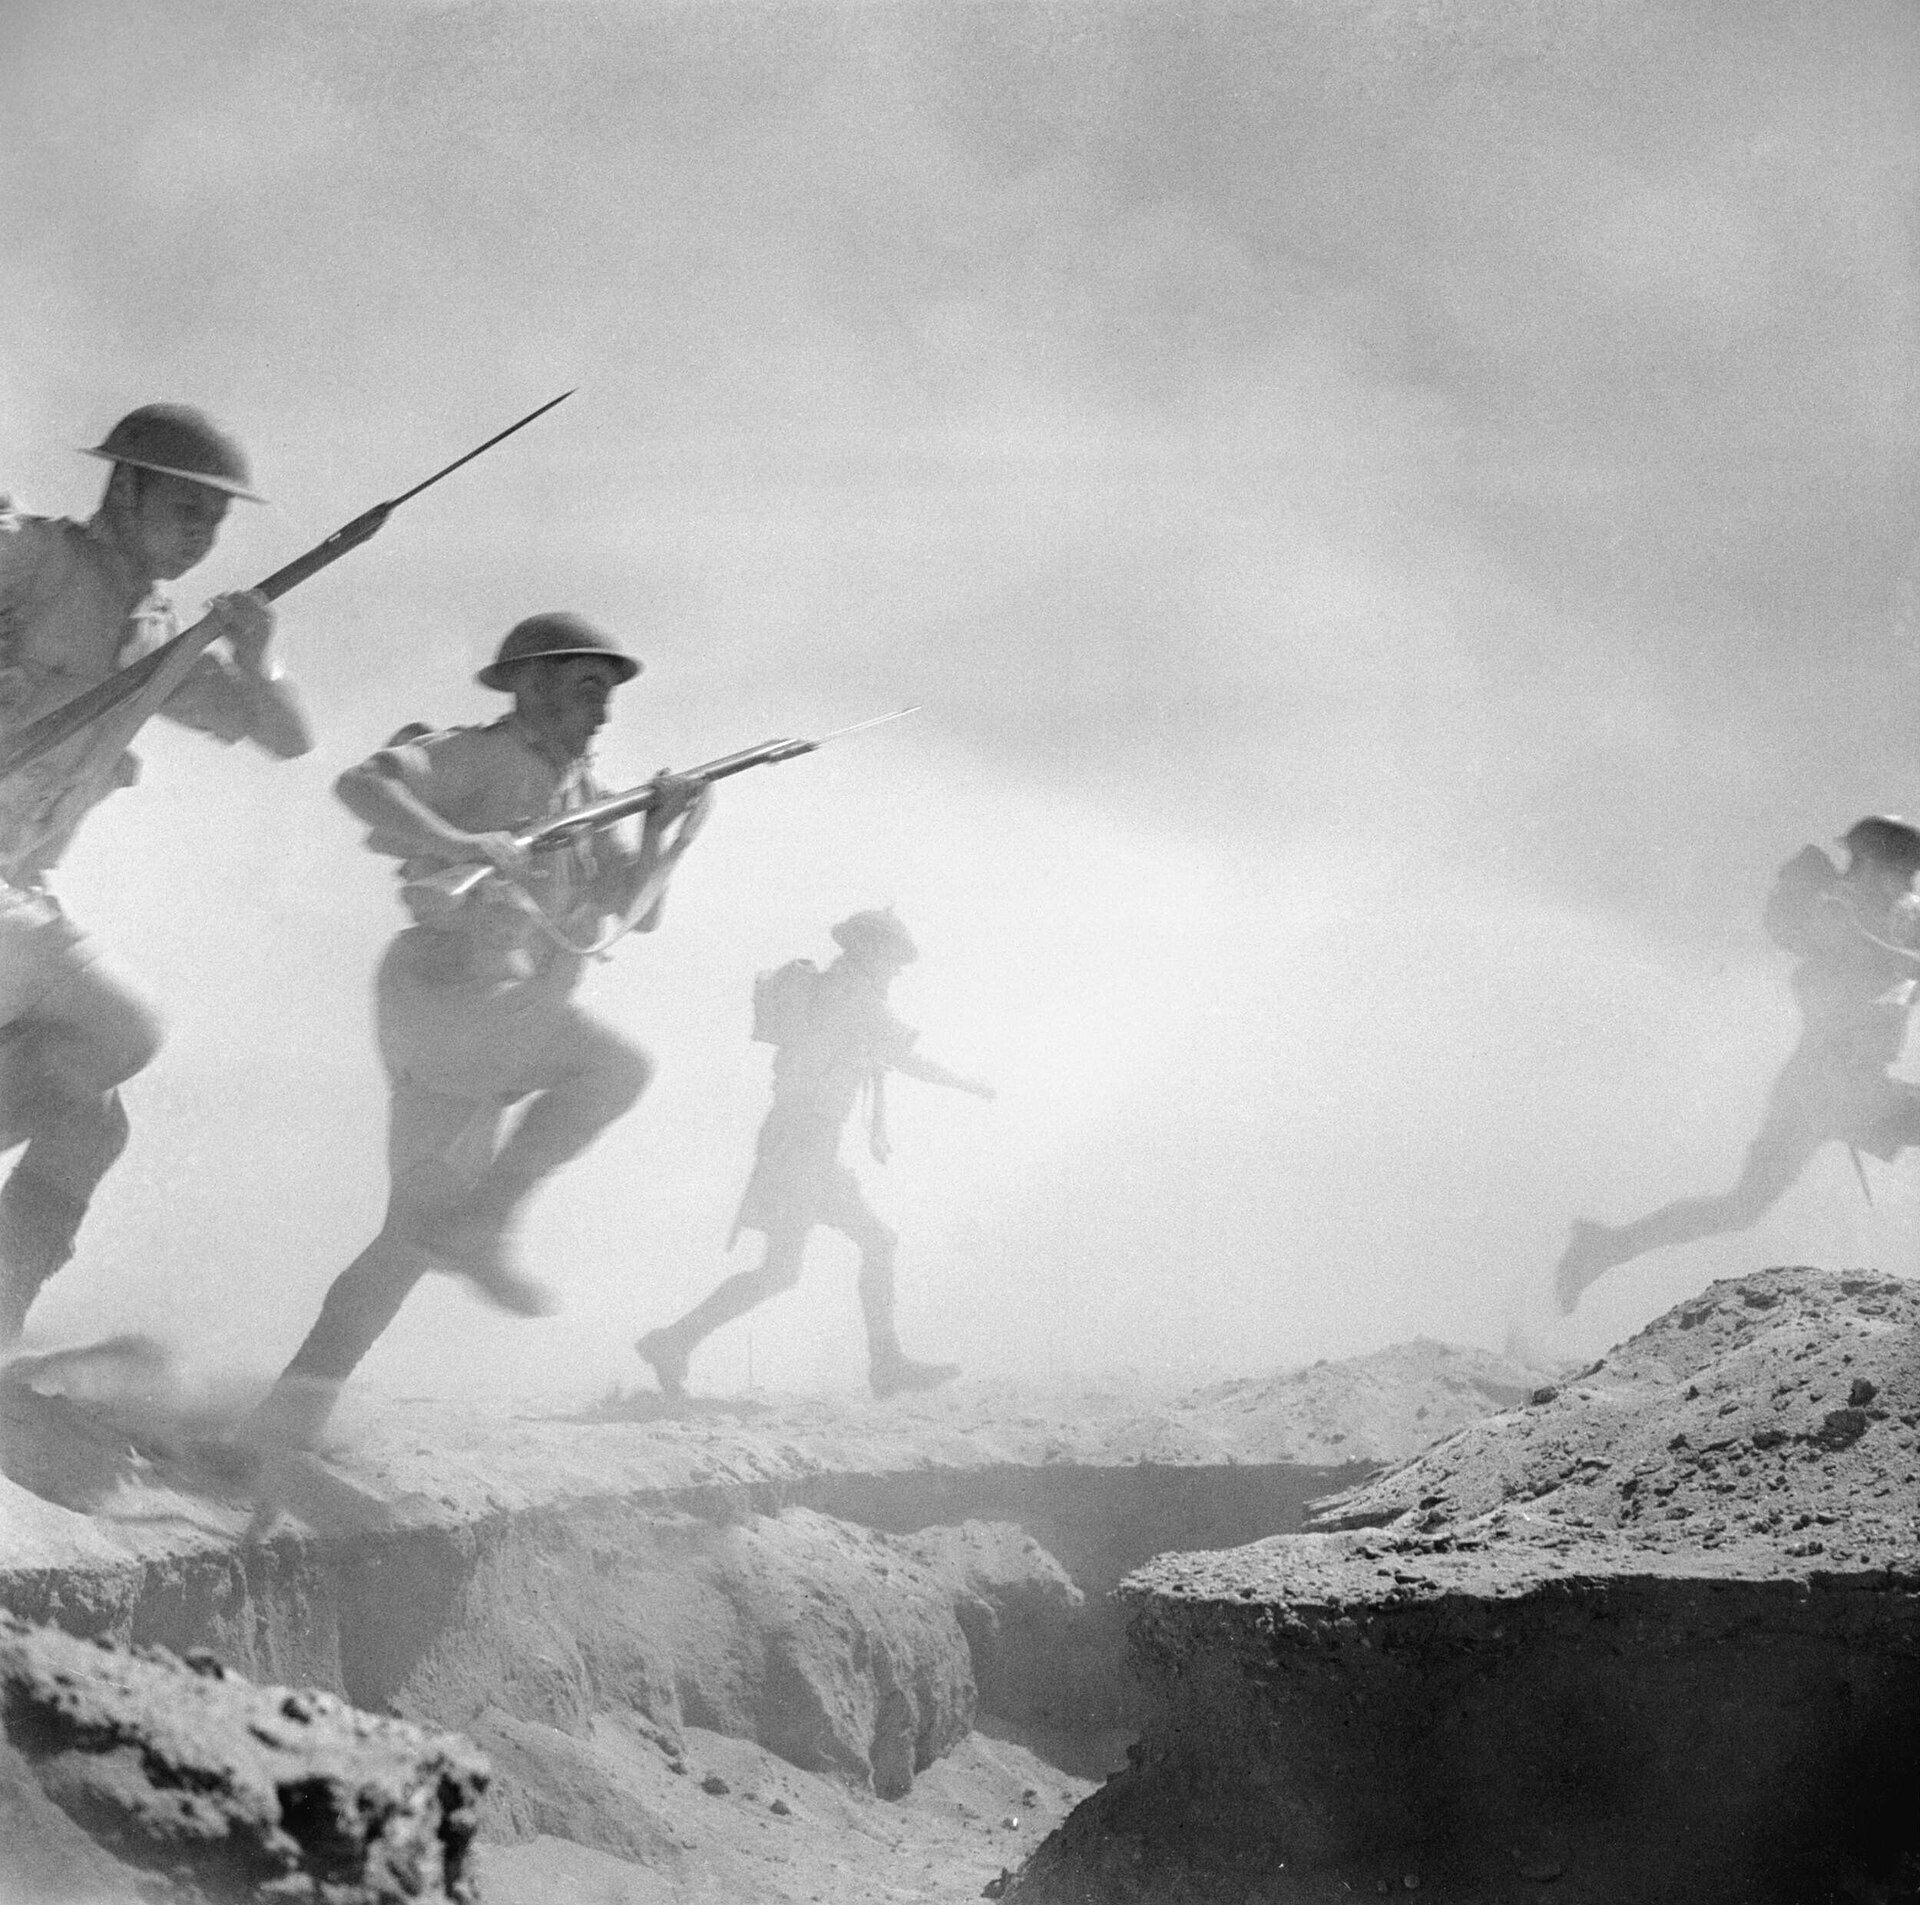
Historical context
The Second Battle of El Alamein began on 23 October 1942 with a major British artillery bombardment and infantry attacks against prepared Axis positions. Prolonged fighting opened routes for armour and forced Rommel's army to retreat westward.
El Alamein ended the immediate Axis threat to Egypt and the Suez Canal. Combined with Operation Torch, it placed Axis forces in North Africa under growing pressure from east and west.
World History Database records
The records below are selected from the 797-record World War II battles archive and rendered as static HTML in chronological order.
Battle of Alamein, 2nd
Montgomery issues final plans for the Eighth Army's offensive before the Second Battle of El Alamein.
Battle of Alamein, 2nd
Remains Egypt's monarch as the Second Battle of El Alamein is fought in the Western Desert.
Battle of Alamein, 2nd
Holds senior Italian command responsibility in Libya as Italian and German forces fight at El Alamein.
Battle of Alamein, 2nd
Helps manage Panzer Army Africa staff work during the Second Battle of El Alamein.
Battle of Alamein, 2nd
Directs Desert Air Force support for Montgomery's offensive at El Alamein, helping secure the canal route.
Battle of Alamein, 2nd
Commands the Folgore paratroopers holding the southern sector during the Second Battle of El Alamein.
Battle of Alamein, 2nd
Commands XIII Corps in the southern diversion during the opening of the Second Battle of El Alamein.
Battle of Alamein, 2nd
Commands 90th Light Africa Division on the Axis line at El Alamein.
Battle of Alamein, 2nd
Leese's XXX Corps leads the infantry assault in the northern sector at the opening of the Second Battle of El Alamein.
Battle of Alamein, 2nd
Launches an attack at El Alamein to stop the Axis advance toward the Suez Canal.
Battle of Alamein, 2nd
Launches the El Alamein offensive that turns back the Axis threat to Egypt and the Suez Canal.
Battle of Alamein, 2nd
Montgomery launches a diversionary attack in the southern sector on the opening night of the battle.
Battle of Alamein, 2nd
Montgomery launches the Second Battle of El Alamein with coordinated attacks by XXX Corps and XIII Corps.
Battle of Alamein, 2nd
Commands Axis forces at El Alamein and fails to break through to the Nile Delta and the Suez Canal.
Battle of Alamein, 2nd
The British Eighth Army opens the offensive at El Alamein while Georg Stumme commands Axis forces in Rommel's absence.
Battle of Alamein, 2nd
Commands Axis forces at the start of the Second Battle of El Alamein while Rommel is absent.
Battle of Alamein, 2nd
Montgomery confirms that the breakout effort must continue despite stubborn Axis resistance.
Battle of Alamein, 2nd
Returns from Germany to command Panzer Army Africa during the Second Battle of El Alamein.
Battle of Alamein, 2nd
Axis tankers Proserpina and Tergeste are sunk, worsening fuel shortages during the battle.
Battle of Alamein, 2nd
The loss of Axis supply tankers deprives Panzer Army Africa of fuel during the battle.
Battle of Alamein, 2nd
The Afrika Korps is reduced to 114 tanks but Hitler orders that they must hold its ground
Battle of Alamein, 2nd
Rommel's armour is badly reduced during the Second Battle of El Alamein while Hitler forbids withdrawal.
Battle of Alamein, 2nd
The Afrika Korps is reduced to 114 tanks but Hitler orders that they must hold its ground
Battle of Alamein, 2nd
Commands 15th Panzer Division as Axis armoured strength declines during the battle.
Battle of Alamein, 2nd
Coordinates air support and interdiction during the decisive armoured breakout at El Alamein.
Battle of Alamein, 2nd
Leads 7th Armoured Division during the breakout phase of the Second Battle of El Alamein.
Battle of Alamein, 2nd
Leese's XXX Corps supports the breakout during the closing phase of the Second Battle of El Alamein.
Battle of Alamein, 2nd
Commands X Corps armoured formations during Operation Supercharge at the Second Battle of El Alamein.
Battle of Alamein, 2nd
Montgomery's offensive forces Rommel's army into retreat during the Second Battle of El Alamein.
Battle of Alamein, 2nd
Rommel begins withdrawing after Montgomery's forces break the Axis position at El Alamein.
Battle of Alamein, 2nd
Montgomery's offensive reduces the Axis armoured reserve to a small number of serviceable tanks.
Battle of Alamein, 2nd
Mussolini supports Hitler's order that Axis troops hold their ground despite Rommel's request to retreat.
Battle of Alamein, 2nd
The British armoured formations break through the Axis front as the Second Battle of El Alamein nears its decision.
Battle of Alamein, 2nd
The Axis army is defeated at El Alamein and retreats westward across Libya.
Battle of Alamein, 2nd
Is captured during the Axis collapse at the Second Battle of El Alamein.
Battle of Alamein, 2nd
Describes El Alamein as a turning point after news of the Axis retreat reaches Britain.
Battle of Alamein, 2nd
The Axis loss of Tobruk follows the retreat from El Alamein and weakens Rommel's North African position.
Battle of Alamein, 2nd
Uses the phrase, Before Alamein we never had a victory. After Alamein we never had a defeat.
Editorial provenance
Compiled and edited by World History Database.
Historical context is editorial material; the chronology is generated from World History Database Second World War records.
Last reviewed: September 2026.
Imperial War Museums · National WWII Museum · Australian War Memorial
Continue exploring